Oil Painting Techniques: Essential Methods & Tips
Oil painting is one of the most versatile and expressive artistic mediums, allowing for a wide range of techniques that can create depth, texture, and luminosity. Whether you’re a beginner or an experienced painter, understanding different oil painting techniques can significantly enhance your artistic skills. In this guide, we will explore the basic oil painting techniques, layering methods, blending approaches, and advanced styles like impasto, scumbling, and glazing to help you achieve stunning results.
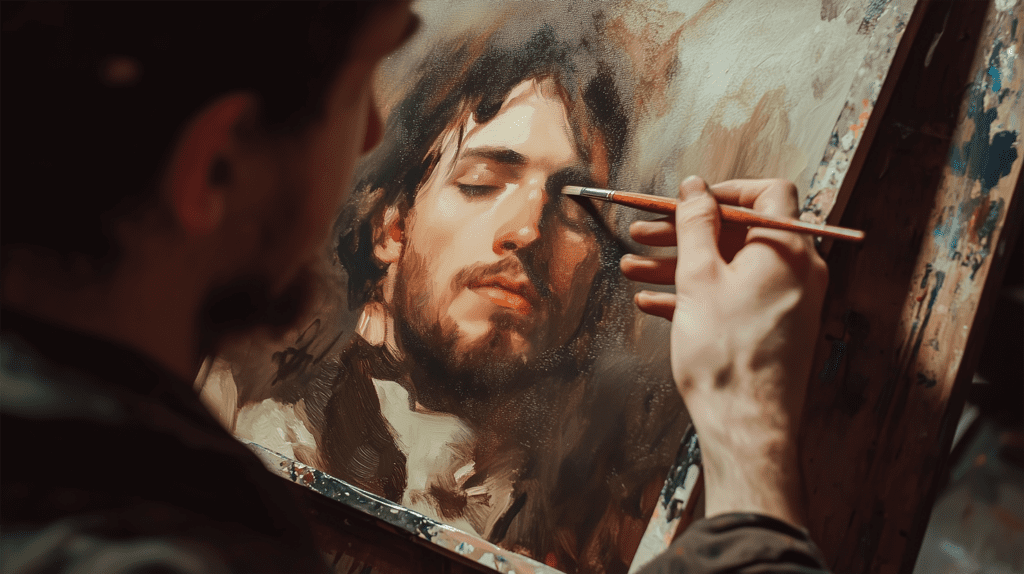
An oil painter applies an earth-toned underpainting, refining light and shadow before layering final colors.
1. Understanding the Basics of Oil Painting Techniques
Before diving into complex methods, it is essential to master basic oil painting techniques. These foundational methods provide control over the medium and establish the groundwork for more advanced styles.
1.1. Fat Over Lean Principle
A crucial rule in oil painting is the fat over lean principle, which ensures the longevity of your painting. This technique involves applying oil-rich layers (fat) over solvent-thinned layers (lean). Since oil takes longer to dry than solvent, following this rule prevents cracking and peeling over time.
A painter working on a grisaille underpainting, using light and shadow contrasts before adding polychrome glazes.
1.2. Underpainting
Underpainting is an essential step in oil painting, serving as the structural foundation of the artwork before applying the final colors. This technique allows the artist to plan tonal values, composition, and light and shadow contrasts. There are different approaches to underpainting, each serving a specific purpose.
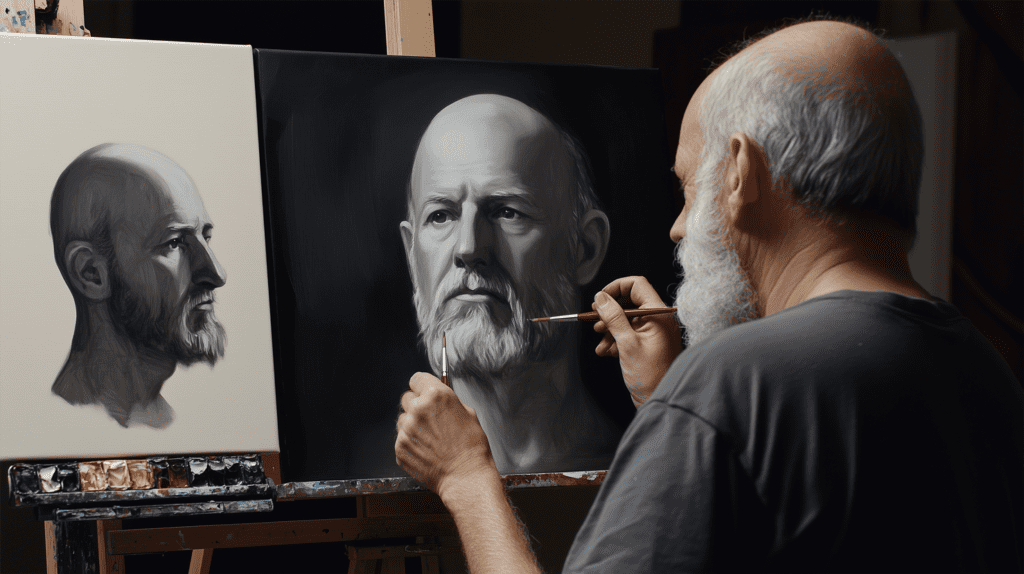
- Grisaille – A monochromatic technique using shades of gray to map out lights and shadows before applying colors. It helps maintain tonal balance and create smooth transitions between light and dark areas.
- Verdaccio – A traditional method that employs greenish tones to neutralize the red hues in skin tones for portraits, resulting in a more balanced coloration when the upper layers of paint are applied.
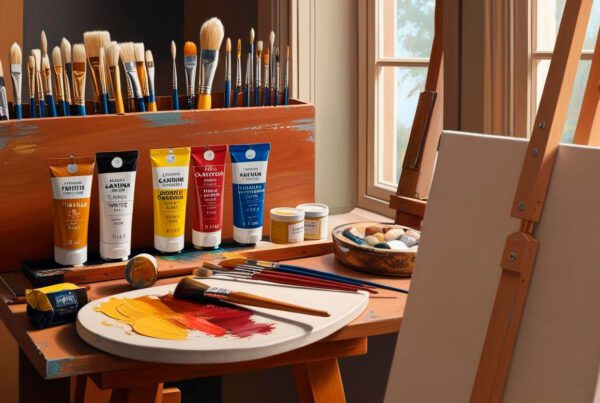
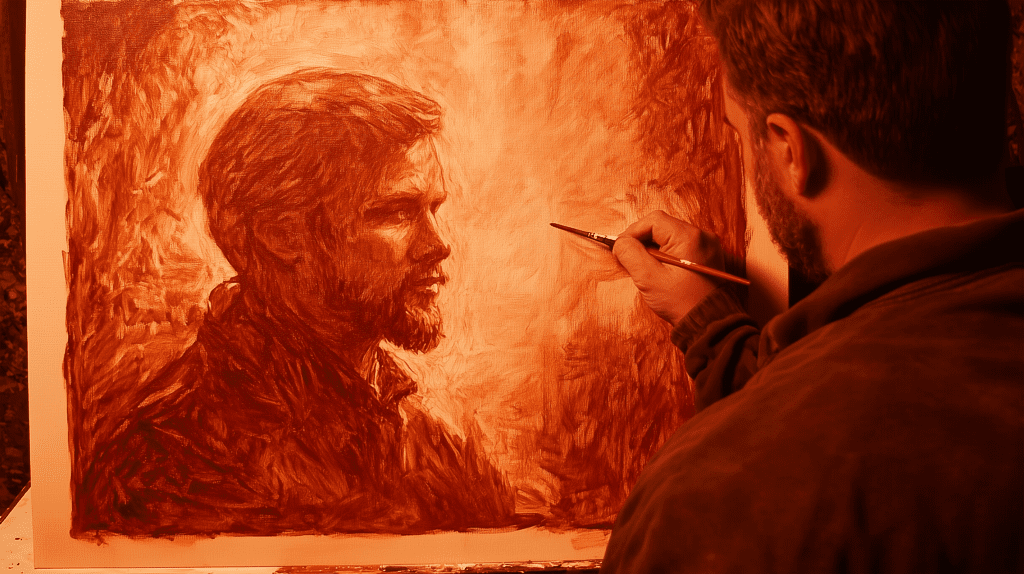
- Underpainting with Earth Tones – Using colors like Burnt Umber or Burnt Sienna thinned with solvent, this approach focuses on studying light and dark contrasts, creating a warm base that influences the perception of applied colors. This method is useful for quickly establishing contrast and structure in the painting, acting as a tonal sketch before applying colored layers.
- Canvas Toning (Imprimatura or Ground Wash) – This technique involves covering the canvas with a thin layer of diluted color, usually in a neutral or warm tone such as Raw Sienna, Burnt Umber, or a mixture of solvent with a small amount of pigment. Canvas toning reduces the impact of the pure white canvas, preventing the artist from overestimating light values in the painting and ensuring better tonal perception from the start. Additionally, toning the background can subtly influence the overall atmosphere of the artwork, creating greater harmony between the applied colors.Each of these underpainting approaches serves a specific purpose and can be chosen depending on the artist’s needs and the desired effect for the final painting.
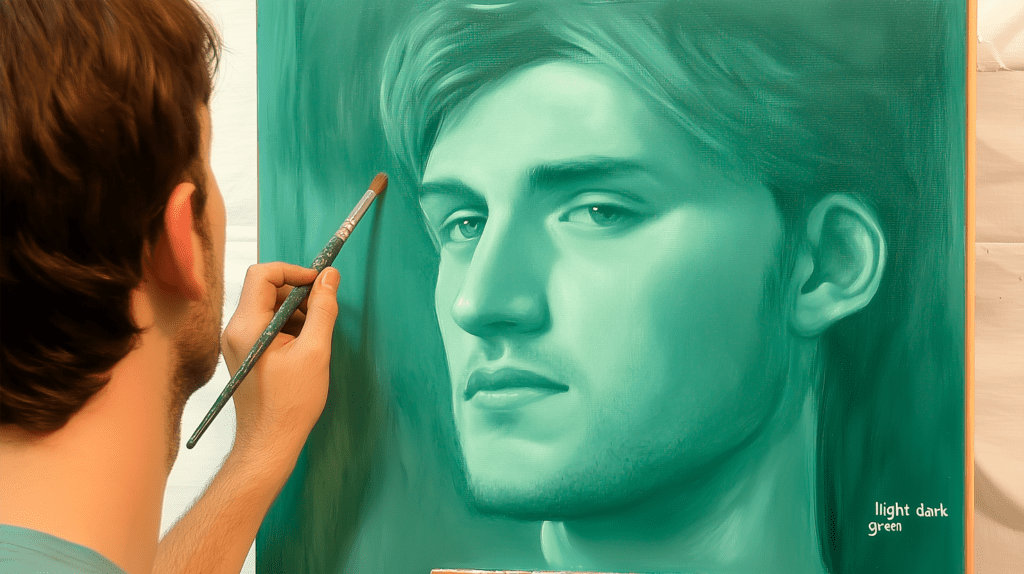
A detailed Verdaccio underpainting, where an artist establishes values with green hues before layering warm skin tones.
2. Wet-on-Wet Oil Painting (Alla Prima)
One of the most dynamic oil painting techniques is wet-on-wet painting, also known as alla prima. In this method, layers of paint are applied while the previous layers are still wet, allowing for seamless blending and expressive brushstrokes.
2.1. Benefits of Wet-on-Wet Painting
- Speeds up the painting process, making it ideal for quick studies or portraits.
- Creates soft transitions between colors without the need for excessive blending.
- Enhances the spontaneity and movement in artwork.
A painter skillfully applies wet-on-wet brushstrokes to create a vivid Alla Prima portrait with rich texture and depth.
2.2. How to Use Alla Prima in Your Paintings
To effectively use this technique, apply thick, opaque paint directly onto the canvas using soft blending motions or bold brushstrokes. Artists like Vincent van Gogh and John Singer Sargent often employed this technique to create vibrant, energetic compositions.
3. How to Layer Oil Paints
Mastering how to layer oil paints is essential for adding depth and realism to a painting. Unlike wet-on-wet painting, layering requires patience, as each layer must dry before applying the next.
3.1. The Process of Layering
- Start with a thin underpainting using diluted paint to establish values and composition.
- Apply the mid-tone layers, gradually adding more pigment and less solvent.
- Introduce the final details and highlights with thicker, more opaque paint.
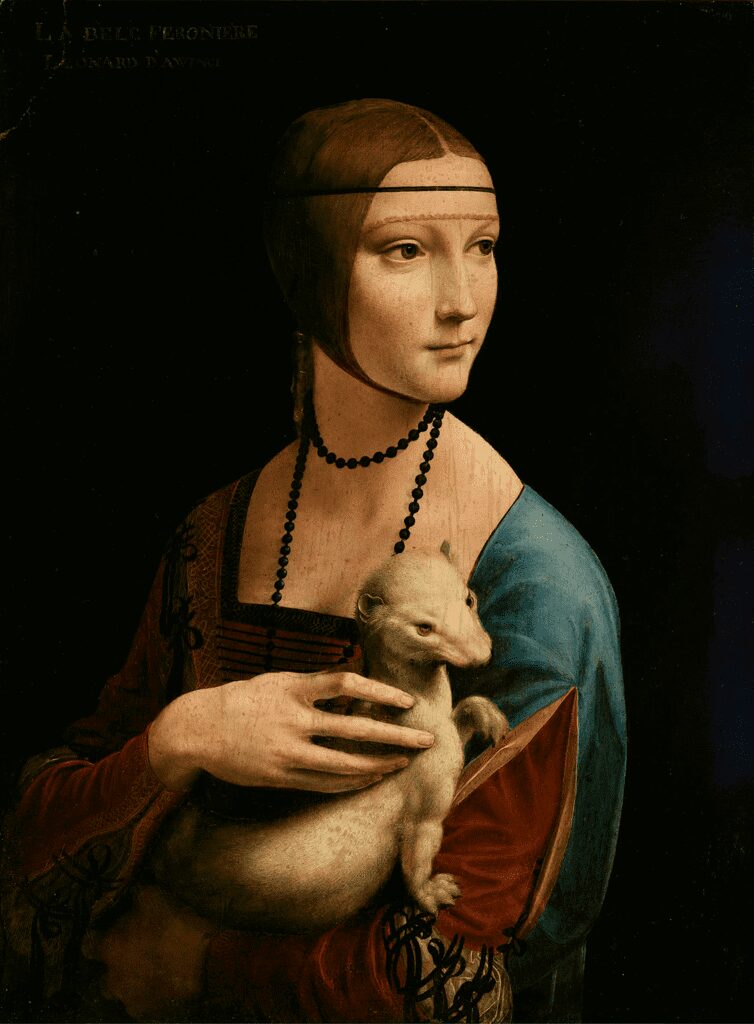
Da Vinci’s portrait demonstrates his refined use of dry brush blending and sfumato, essential for smooth, soft transitions.
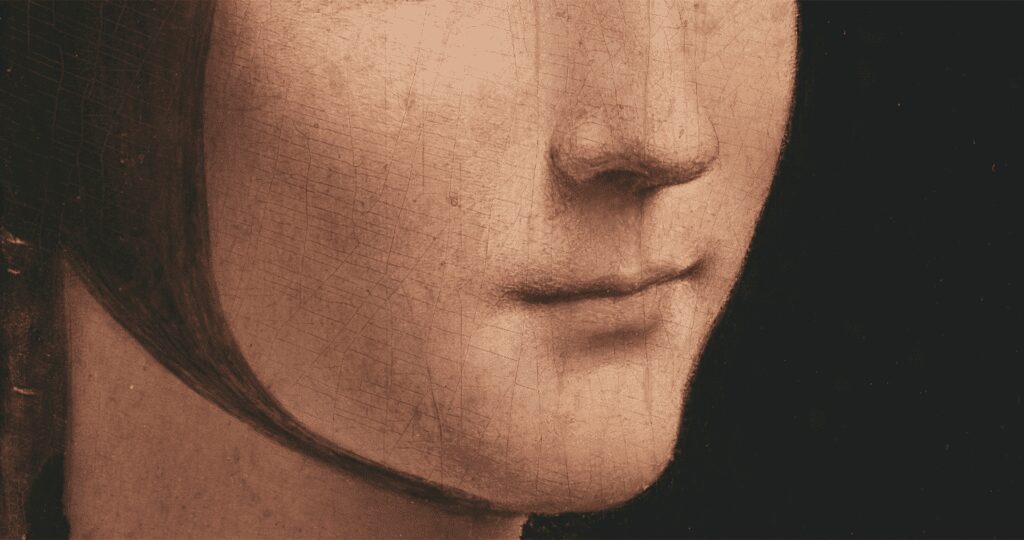
A close-up view of Da Vinci’s dry brush blending technique, where sfumato creates a soft and naturalistic effect.
3.2. Glazing Technique in Oil Painting
Glazing is a layering technique in which thin, transparent layers of oil paint are applied over fully dried layers to modify color, enhance depth, and increase luminosity. This method allows light to pass through the transparent layers, interact with the underlying tones, and create a rich, glowing effect that is difficult to achieve with opaque painting techniques.
Some of the best colors for glazing include:
- Transparent Red Oxide – Adds warmth and richness to shadows.
- Transparent Yellow Oxide – Ideal for subtly warming highlights and adjusting mid-tones.
- Ultramarine Blue + Alizarin Crimson (Violet Mixtures) – Perfect for creating deep, transparent purples in shadows and atmospheric effects.
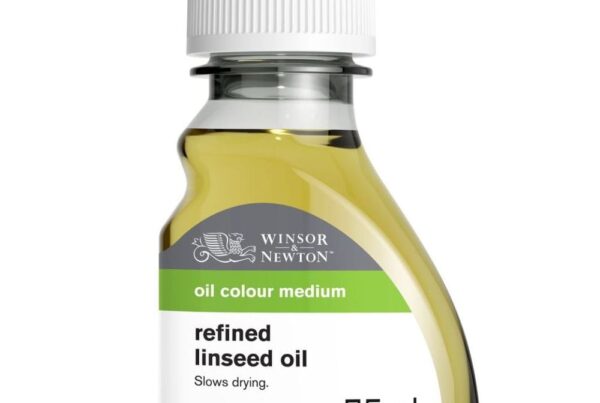
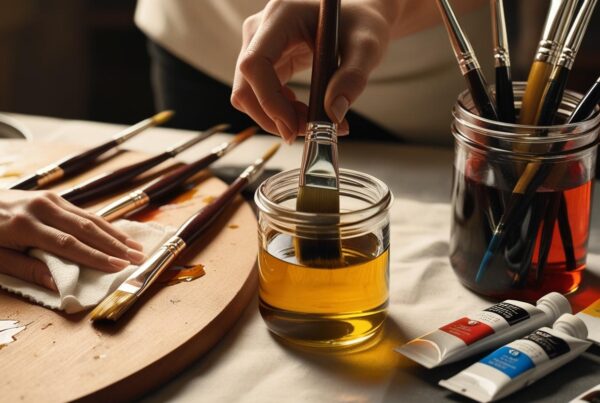
To apply a glaze, mix a small amount of paint with linseed oil or a glazing medium to increase transparency. Using a soft brush, apply thin, even layers, allowing each to dry completely before adding the next. This gradual process ensures clarity, smooth transitions, and a luminous quality without muddying the colors.
By mastering glazing, artists can introduce subtle color shifts, enhance depth, and refine tonal variations, making this technique invaluable for achieving realism and dimension in oil paintings.
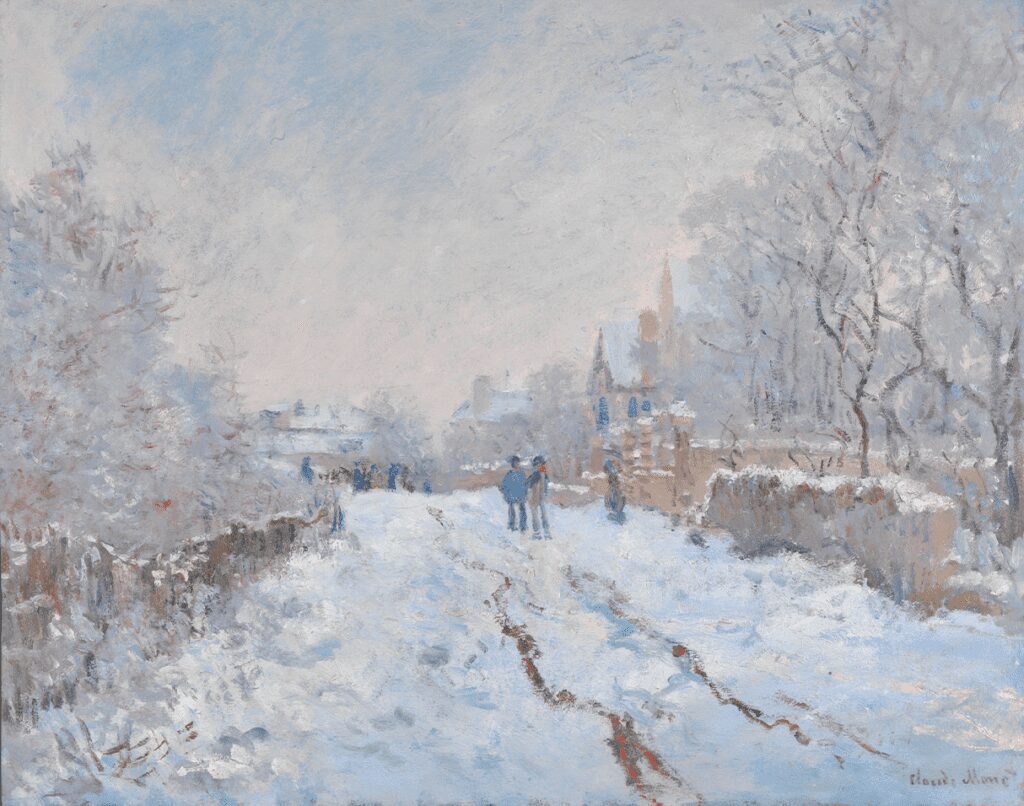
Monet’s Impressionist landscape showcases his expert use of the dry brush technique to create texture and movement.
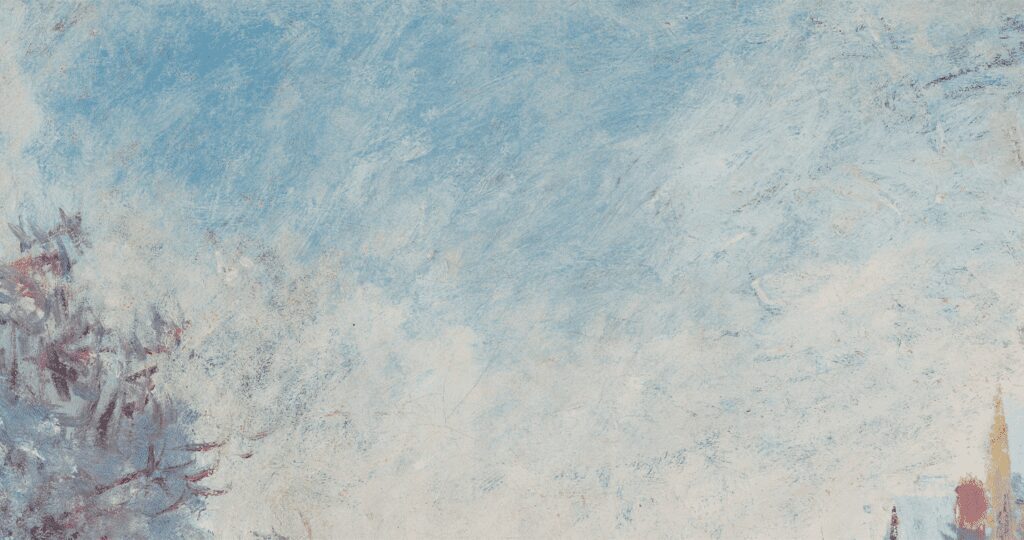
A close-up of Monet’s dry brush technique, where light strokes create movement and texture in his Impressionist landscape.
4. Oil Painting Blending Techniques
Blending is one of the most essential oil painting techniques, creating smooth transitions between colors. There are multiple ways to blend oil paints effectively.
4.1. Dry Brush Technique in Oil Painting
Dry brush technique involves using a dry, stiff brush with minimal paint to softly blend colors. This technique works well for textures like fur, clouds, and soft skin transitions.
4.2. Soft Blending with a Fan Brush
A fan brush can be used to gently blend edges and create soft transitions between colors. This is particularly useful for skies, hair, and delicate shadowing.

This self-portrait by Rembrandt showcases his bold use of impasto, essential for adding texture and volume to oil paintings.
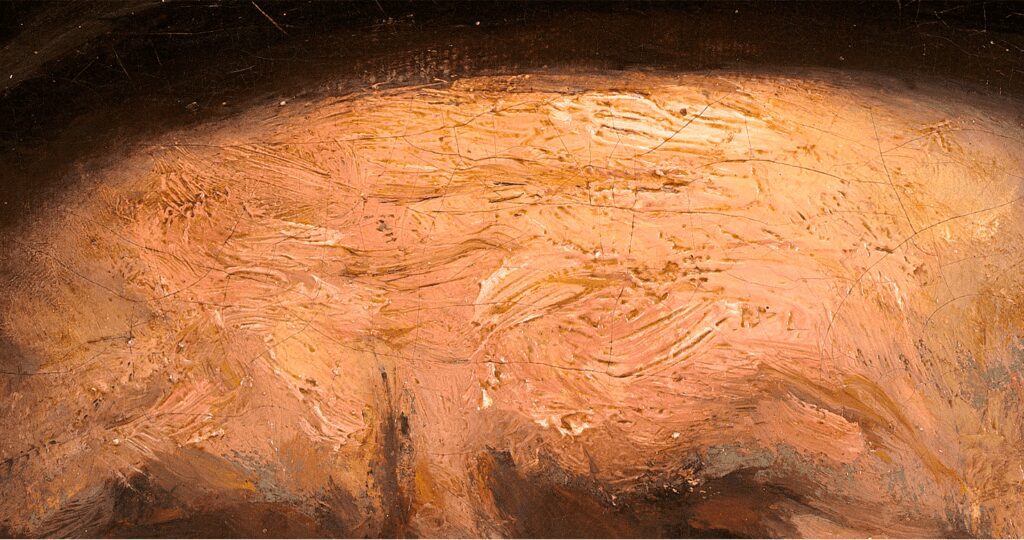
A detailed look at Rembrandt’s impasto technique, showing thick applications of paint that enhance the texture and realism of the portrait.
5. Impasto Technique: Adding Texture to Your Oil Paintings
Impasto is a technique where paint is applied thickly to create a three-dimensional texture. This method was famously used by artists like Van Gogh, who utilized impasto brush strokes to add movement and emotion to his works.
5.1. How to Apply the Impasto Technique
- Use a palette knife or a thick bristle brush to apply heavy layers of paint.
- Mix oil paint with an impasto medium to maintain structure and reduce drying time.
- Apply impasto selectively to highlight areas of interest, such as light reflections or textures in fabric.
A fan brush can be used to gently blend edges and create soft transitions between colors. This is particularly useful for skies, hair, and delicate shadowing.
6. Scumbling in Oil Painting
Scumbling is a dry-brush technique where a thin, opaque layer of lighter color is gently brushed over a darker layer to create a soft, misty effect. This technique is excellent for depicting atmospheric effects, skin textures, and subtle highlights.
- Use a stiff, dry brush and load it with a minimal amount of paint.
- Apply gentle circular or back-and-forth motions over a dry underlayer.
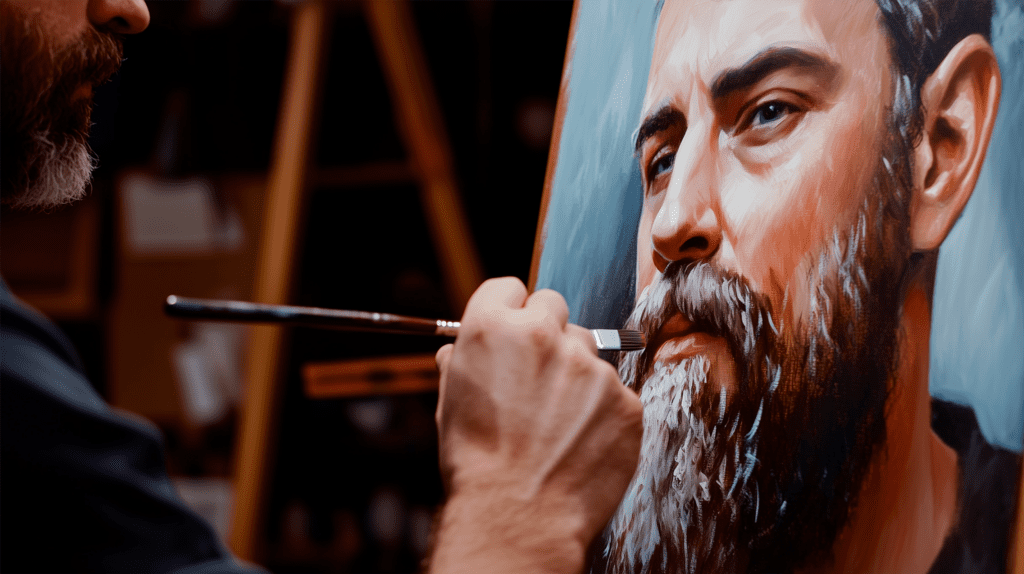
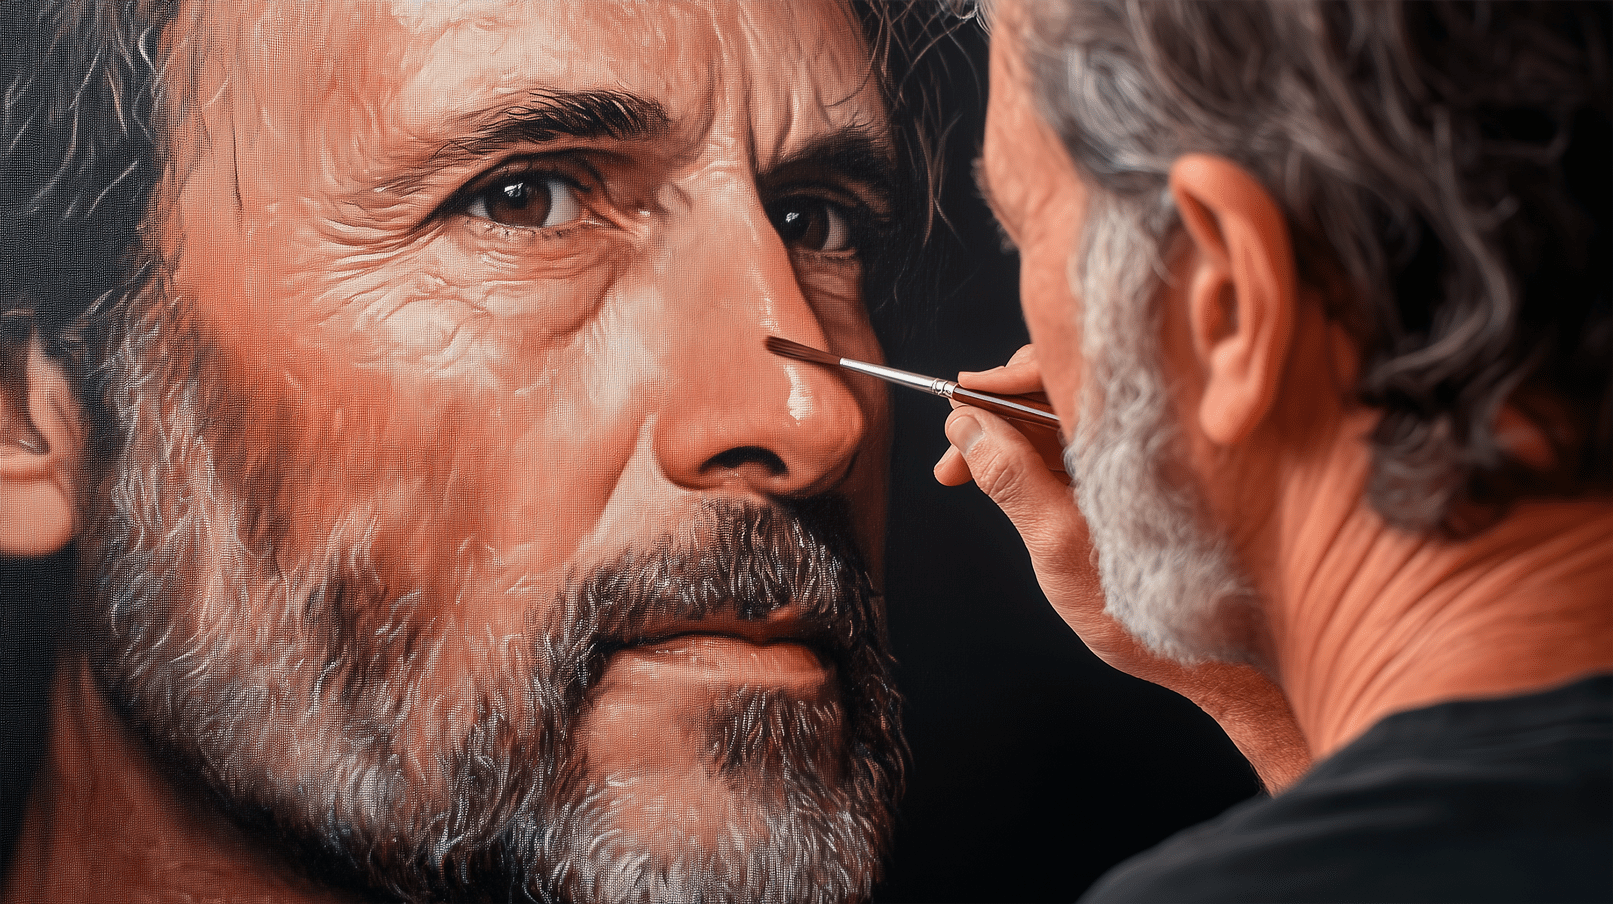
An artist builds depth and precision in a hyper-realistic portrait, applying layers of glazes and detailing techniques.
7. Oil Painting Brush Strokes and Techniques
The way you handle your brush significantly affects the texture and movement in your painting. Some essential oil painting brush strokes include:
- Flat Stroke – Using a flat brush to create broad, even strokes.
- Feathering – Light, delicate strokes to soften edges and blend colors.
- Cross-hatching – Layering strokes in a crisscross pattern to build depth.
- Stippling – Dabbing the brush tip to create texture and details.
Final Thoughts
Mastering different oil painting techniques allows artists to create stunning, dynamic compositions with depth and texture. Whether you are exploring wet-on-wet painting, glazing, impasto, or scumbling, each technique offers unique possibilities. By practicing layering, blending, and various brush strokes, you can develop your own artistic style and elevate your oil paintings to new heights.
Now, grab your brushes and experiment with these techniques to bring your artistic vision to life! 🎨
What is the best oil painting technique for beginners?
Beginners should start with wet-on-wet painting (alla prima) and basic layering techniques to understand how oil paints behave.
How long does it take for oil paint layers to dry?
The drying time depends on the thickness of the paint and the oil content. Thin layers take a few days, while thick impasto strokes may take weeks.
Can I use acrylic as an underpainting for oil paint?
Yes! Acrylic dries quickly and can be used as an underpainting, but oil paint should never be layered under acrylic.
What is the difference between glazing and scumbling?
Glazing uses transparent layers to enhance colors, while scumbling applies opaque paint to create a hazy, atmospheric effect.
Which brushes are best for oil painting techniques?
For details, use round and filbert brushes. For blending, fan brushes work well. Flat and bristle brushes are ideal for impasto and large coverage.